
The (not so) Gross Bathroom
I mentioned in an earlier post that we were temporarily re-doing the bathroom floor with those vinyl sticky tiles. I finished laying them on Monday, so I thought you may want to see the outcome.
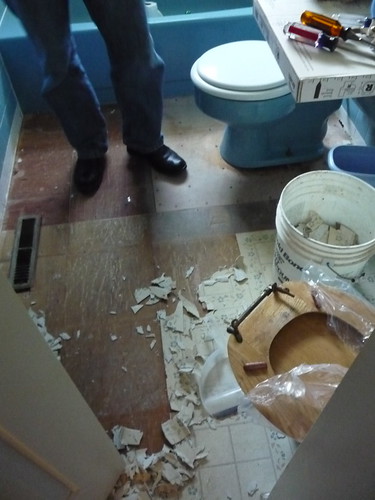
Tearing up the floor.
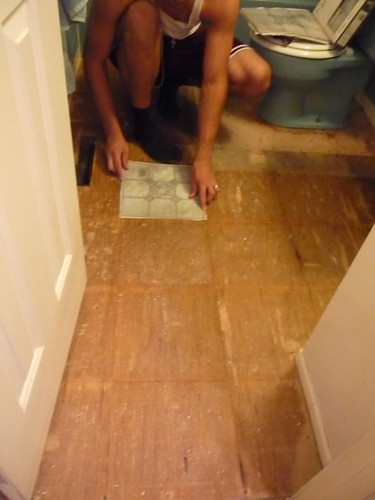
John laying the first tile.
When you are laying tile of any sort, find the center of the room (whether by measuring or chalk line) and center the first tile there. Then move outward. If you had started by laying your first tile along a wall, as you move down the wall, there is a good chance that the wall isn't straight- your subsequent rows would then have that crooked line. Not to mention, unless your room has the perfect square footage, you will have cut tiles on one side, but not the other. I much prefer symmetry.
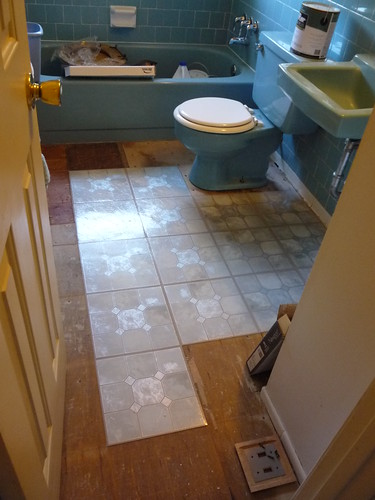
All of the tiles that did not need to be cut laid out.
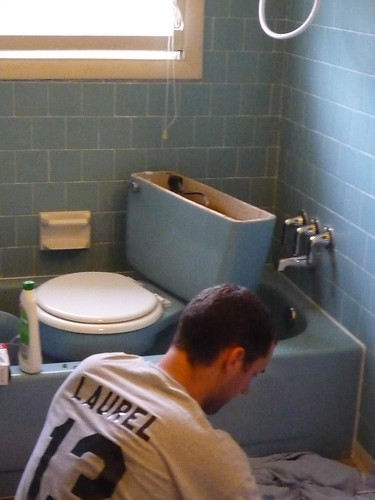
Our next step was to remove the toilet, in order to lay the tile UNDER the toilet so when it condensates the water sits on the vinyl instead of in the wood.
In order to remove a toilet, turn off the water going to the toilet and then give the toilet a flush to empty it of water. If your toilet, like ours, doesn't empty most of the way with the flush, dump a couple of gallons of water down the toilet, quickly. The pressure will push the remaining water out. You may have a couple of cups of water left, but that can be soaked up with a sponge or paper towels.
After the water is out of the toilet, unhook the water from the toilet. Next, unscrew the bolts on the base, holding the toilet to the floor. Gently rock the toilet back and forth to loosen it from the wax ring.
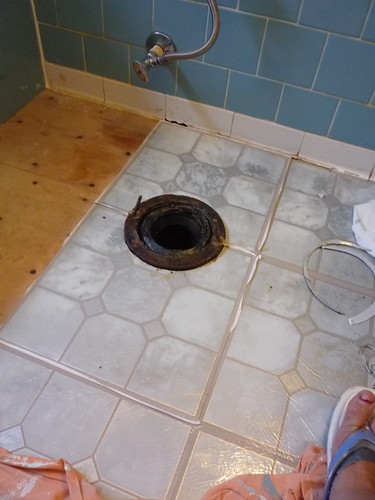
When your toilet comes up, you should be left with this:
In order to remove a toilet, turn off the water going to the toilet and then give the toilet a flush to empty it of water. If your toilet, like ours, doesn't empty most of the way with the flush, dump a couple of gallons of water down the toilet, quickly. The pressure will push the remaining water out. You may have a couple of cups of water left, but that can be soaked up with a sponge or paper towels.
After the water is out of the toilet, unhook the water from the toilet. Next, unscrew the bolts on the base, holding the toilet to the floor. Gently rock the toilet back and forth to loosen it from the wax ring.
When your toilet comes up, you should be left with this:
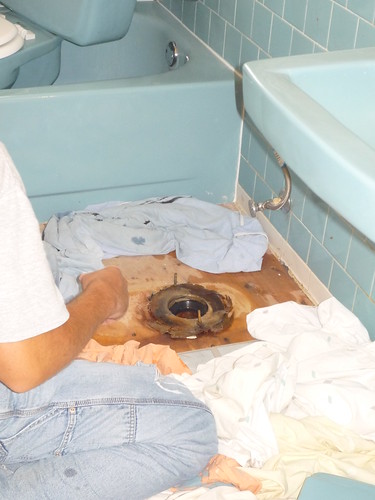
Yum.. a 50 year old wax ring.
Make sure you scrape up any leftover wax. You should just have a plastic ring type thing left (and a big ol' hole in the floor).
We put our toilet in the tub in case it did leak anything else.
To cut the tiles around the toilet, we just made some marks on the tile based on some measurements and then John used heavy duty scissors to cut a bit smaller than we thought it should be. We kept trimming the tile until it fit to the hole.
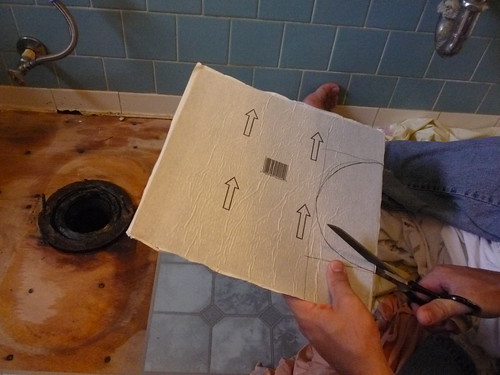
You can see him cutting inside of the marks.
Once we had the one side cut, we were able to mirror it to get the same arc on the other side.
Before the tiles were stuck down.
The rest of the way around the room, I just measured and marked the tiles and then trimmed them to fit. I knew that I would be caulking around the room, so a perfect line on the wall did not matter.
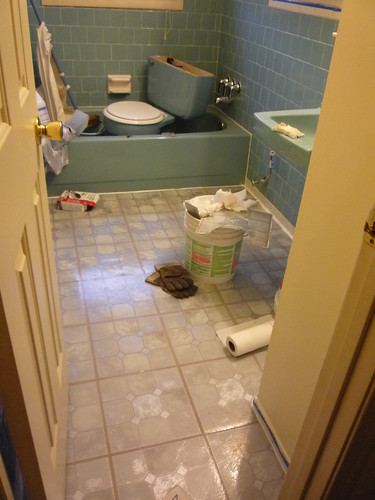
Ta da! A finished floor.. now what to do about the hole in the floor?
To put the toilet back into place, open up your wax ring and place it on the hole with the plastic side up (where the toilet will go). Slowly lower the toilet onto the ring, making sure that the bolts (still in the floor) are lining up with the holes in the toilet base. Once the toilet is in place, squish it around to distribute the wax and make the toilet sit flush on the floor. Tighten the nuts around the bolt, hook the water back up and turn the water on. Give the toilet a flush (or two- ours didn't have enough suction the first flush), to get everything back in working order and filled up.
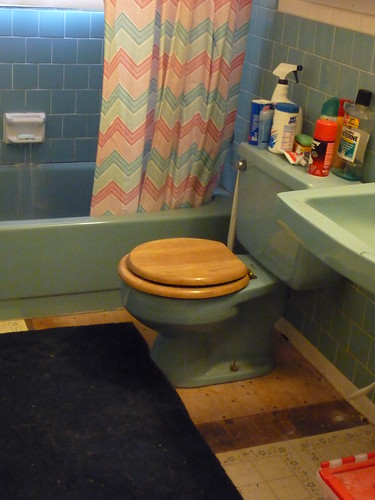
Before:
After (for now):
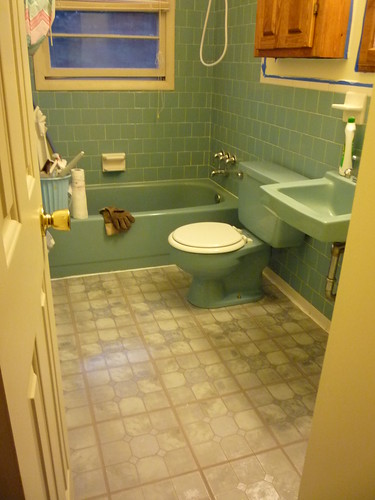


I think this is a *great* example of when it can be really wise to use vinyl floor tiles! It looks so much better!
You guys are rock stars at home improvements! :)
That's progress!