
Making Wooden Bed Lifts
Our guest room bed is currently an extra long twin bed that John got for our college apartment. The plan is to eventually get a queen bed for our room and move our full/double bed into the guest room.
For now, we are storing a bunch of junk under that bed, the largest being a plastic "under bed" container with wrapping paper in it. The bed frame is juuuust low enough that we can't fit the container under the bed. After going through 2 sets of Ikea plastic bed lifts and having them break (and the bed collapse to the floor), I decided it was time for wooden lifts. Of course the ones at Bed Bath & Beyond cost $25 for a set of 4. No thank you.
To first start my bed lifts, I figured out how much extra space I would need under the bed. I didn't want to make the lifts too tall, so that we would need a ladder to get into it, but I wanted to make sure everything could fit.
Once I knew how much height I needed, I scrounged around in our cellar for the right wood and came up with this:
 It is the remainder of the post our seller's agent had used for the sign in front of the house (that he never came back to get). The rest of the wood was used in another project (that I will have to wait until spring to show you).
I marked out on the wood my lengths and then used this guy:

to cut the wood.
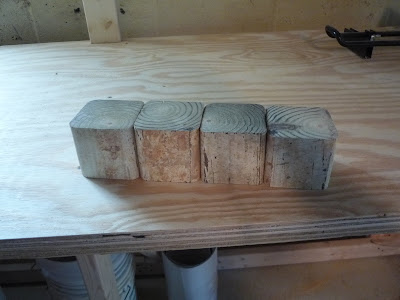 Dun dun dun! 4 matching WOODEN chunks!
My next step was to make little holes/notches in the top of the wood so that the legs of the bed frame had somewhere to sit (and so the bed wouldn't slide off of the lifts). My bed frame has rectangular legs, but at the very bottom are little plastic circles. The circles are what rests in the lift and keeps the bed stable.
To make my little circles, I got the biggest drill bit that we have and measured out the depth that I wanted my hole to go.
 Once I got the right depth, I marked it with a little flag of tape.
 This flag will let me know when to stop drilling. When the bottom of the flag (my measured depth) touches the top of the wood, then STOP!
To make things easier for myself, I clamped the block to our workbench.

Then I got to drilling.
 See how the bottom of the flag is touching the wood? That is the depth that I wanted.
And voila, I have a finished bed lift. Rinse & repeat 3 more times and then the whole bed will be at one level.

Of course to be all fancy, you could paint the lifts. I was too impatient.


That's a pretty sexy looking workbench you've got there.